The booking calendar is a simple tool that handles complex scheduling requirements.
It displays your availability to customers, allowing clients and leads to book time with you.
The basic features of booking calendars are laid out for you here.
Set your availability
To access booking calendars, click on the Booking calendars icon on the left-hand side toolbar on the OnceHub homepage.
 Figure 1: The booking calendar icon
 You may have already configured your availability during onboarding. If you're satisfied with the rules you set for your availability, you can skip this.
Every user can set their own availability, which OnceHub applies to all the booking calendars they own. You can adjust your availability settings by selecting your work days, available hours or timeslots, and override your recurring available hours for once-off engagements.
You can update your user availability in your profile by doing the following:
- Select your profile picture or initials in the top right-hand corner, then select Profile settings. This will take you to the profile overview page.
- On the left-hand side, click Availability icon (Figure 2)
 Figure 2: Availability settings
3. Depending on the settings you wish to update, select Scheduled meetings or Live engagements.
4. Here you can set your availability. Remember to click Save when you're finished!
Create a new booking calendar
If you have no booking calendars yet, follow the directions below to create one.
- First, click the Booking calendar icon on the left-hand side of any OnceHub page.
- Click the Create booking calendar button in the middle of the booking calendars home page (Figure 4)
- Enter the name you'd like to give the calendar, and click Create.
- Fill in your booking settings, which are explained below.
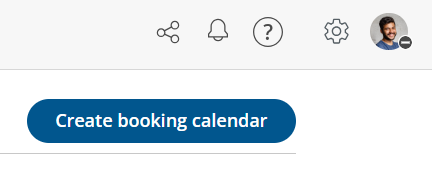 Figure 4: the Create booking calendar button
Settings
Meeting subject: This is the external name of your booking calendar, which your customer will see.
Meeting host: This is the host of the booking calendar. The host is the user who will receive bookings. There can be more than one host, as in a panel meeting, or you can choose for the meetings to be distributed among a team of the users in your account.
Duration: Choose the meeting's length from 15-60 minutes, or choose your own custom meeting duration.
Lead time: Sets a custom time frame within which customers are unable schedule meetings with you. This is useful if, for example, you are offering a meeting which requires some time beforehand to prepare for.
Time frame limit: Sets how far into the future your availability is shown to customers.
Buffer time: Sets a buffer before the start and end of meetings. This is useful if you need time in between two meetings to prepare.
5. Once you're done, click Save to create your new booking calendar.